Hanging curtains in a room can completely transform its aesthetic and save you money on energy costs by helping to retain heat.
Contrary to popular belief, putting up a curtain pole is not that difficult when you have the correct tools.
We’ve compiled a step by step guide on putting up a curtain pole, complete with the tools needed to guide you through the task.
Putting Up Curtain Rails
Difficulty Rating: Moderate – Some DIY experience necessary.
The timescale for the Job : 2 hours – This includes initial measurements, getting the tools needed, measurements for fitting, and fitting the curtain rails.
Preparation for Putting Curtain Rails Up
Before purchasing new curtains and a curtain rail, you’ll need to take precise measurements. It’s advised that you measure your window width before adding around 20cm to either side – this will allow you to fully draw back the curtain without covering the edges during the day and ensure full cover during the evening.
You’ll also need to consider the thickness of the curtains you plan to hang when taking measurements. This is because they will take up considerably more space when drawn back.
Curtains should always be hung in a way that frames a window. Positioning the pole above and wider than the window frame will make the window appear grander and let more light into the room.
You will then have to consider the width and length of the curtains necessary. The width will always have to be enough to give full coverage.
There’s much more freedom involved when choosing the length – this is down to your personal preference. You’ll also always have the option of altering longer curtains if they are too long.
What Type of Rod to Use?
Before you can put your curtain rod up, you will have to choose the best one for your home. Here are some of the available choices.
Classic Rod
The classic curtain rod is adjustable and available in different styles to match your decor. Typically, they include ornamental end caps, and the rod will be attached to the wall by brackets.
Return Rod
A return rod is a U-shaped rod that is adjustable and can be screwed directly into a wall. Rather than the rod stopping and leaving a gap between the wall and curtain, the u-bend allows the curtain to be pulled right to the wall. They’re a great way to block out light.
Track Rod
A track rod works by attaching hooks to pulleys that run inside a track. These can come in many designs – from straightforward plastic tracks, to disguised rods.
Tension Rod
A tension rod is for lightweight curtains – they’re the cheapest and most straightforward option you can get.
The Tools You Will Need for Putting Up Curtain Rails
The last thing you want when you start a job is having to stop halfway through to visit your local DIY store for supplies. To fully prepare for the job, you’ll need the following items:
- The curtain pole
- Curtain hooks
- Curtains
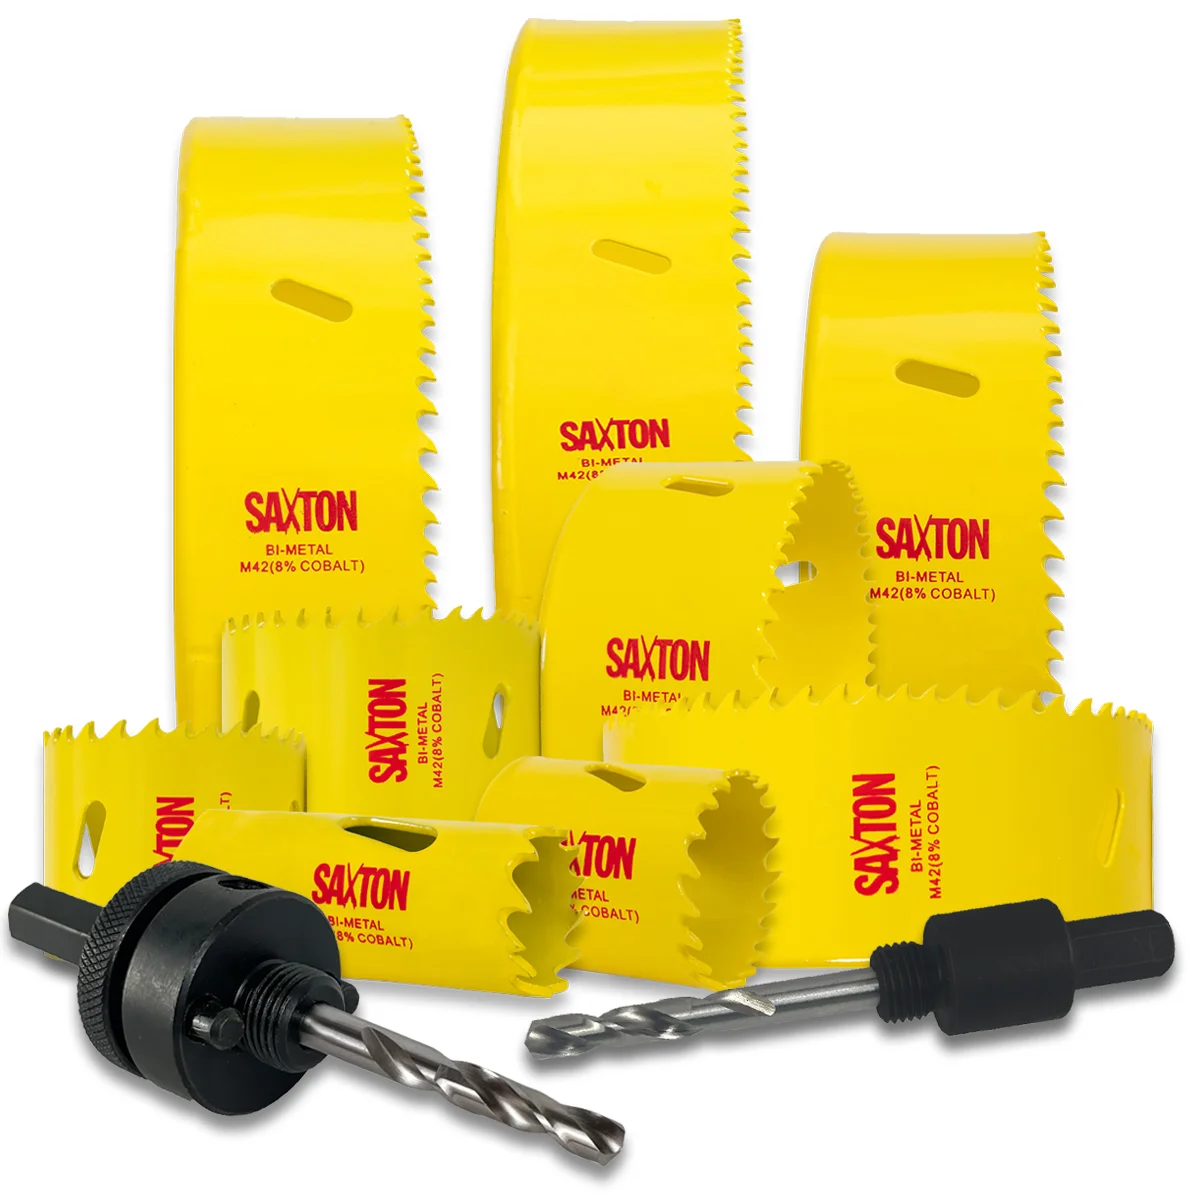
- Drill & drill bit
- Steel tape measure
- Pencil
- Screwdriver
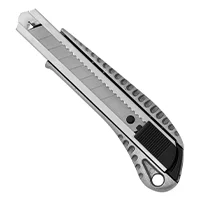
- Knife
- Spirit level
Now you have the tools necessary to carry out the job, open the curtain rail pack and lay out the components to check everything is in working order, and all parts are present and organised to make the process easier.
Once that’s done, follow these steps to put your curtain rail up securely.
Step 1
Your curtain poles should come with fitting instructions. Making sure you make the correct measurements at this stage is critical – you’ll be able to mark the spot you plan to drill with your pencil. Always double-check your measurements before you begin drilling.
To ensure you get both screws level, you can use your spirit level or a set square (if you are mounting on a wooden batten) to mark a vertical line.
Using a laser level to find the horizontal line makes things much easier, but not everyone will have one. If you don’t, you can use your tape measure and a normal level.
The curtain pole should be positioned around 3-6 inches over the top of the window frame. This will help to keep your room warm in winter, and give a better drop.
Step 2
The next step is to drill the hole. If you are mounting directly into plasterboard or brick, you’ll need to use wall plugs. Most curtain rails will come with screws and wall plugs for the installation.
If you’re mounting on wooden battens, you’ll be able to drill small pilot holes in preparation for the screws. Following this, you’ll be able to screw the brackets into position.
Step 3
Mount your curtain pole securely on the brackets you have just installed. Some rods will have a screw to secure them into the bracket.
When installing the pole, you will have to split the curtain rings evenly on either side of the central bracket. You should also position one ring on the outside of each end bracket. This will allow you to fully cover your window with your curtains and stop the end from moving when the curtains are drawn.
Step 4
Now your curtain rail has been put up, you can hang your curtains. Some curtains will come with built-in fabric hooks for the curtain rings, and others will require you to add curtain hooks.
You can now hang your curtains – safe in the knowledge that the curtain rail is safely secured to your wall.
Things to Remember When Putting Curtain Rails Up
While this isn’t one of the more challenging DIY jobs you can undertake, it is essential that you are precise with measurements and consider the different types of curtains and curtain rods to ensure you are successful.
Thorough preparation, from measuring your windows to procuring the necessary tools, will make the job a lot easier – resulting in curtain rails that are securely fitted, and a great addition to your room.

