Tidy garage, tidy mind.
Garages are great for storage, but they can quickly become cluttered over time – a jumble of tools, bikes, extension cords, ski gear, and other items you don’t remember buying that might even block the garage doors.
With our helpful garage storage ideas, you’ll be able to maximise your garage space and transform it into a more productive and functional room.
Whether you’re building a DIY project or looking for a specific item, an organised garage will benefit you in many ways: you’ll be able to find everything you need without the hassle of rummaging through boxes or struggling to clear up space.
Find below a beginner-friendly guide packed with useful information, including step-by-step instructions and our top affordable storage solutions.
Why Are Garage Shelves So Useful?
Not only do they make your garage more functional, but they also free up floor space and make your garage look and feel neater, making it easier for you to find specific items.
If you own expensive equipment, shelves are a great way to protect them from getting easily damaged, and any dangerous tools can be safely stored and kept out of reach, especially if you have children.
How To Build Your Own Garage Shelves – Step By Step Guide
Follow our handy step-by-step guide and make your very own DIY garage storage shelves using 2×4 scrap wood and your preferred wood type.
Step 1: Clear out your clutter
Before starting your project, you’ll want to first clear out any boxes, tools, and other things that have cluttered your garage so you have a clean slate to work with.
Step 2: Gather your tools and equipment
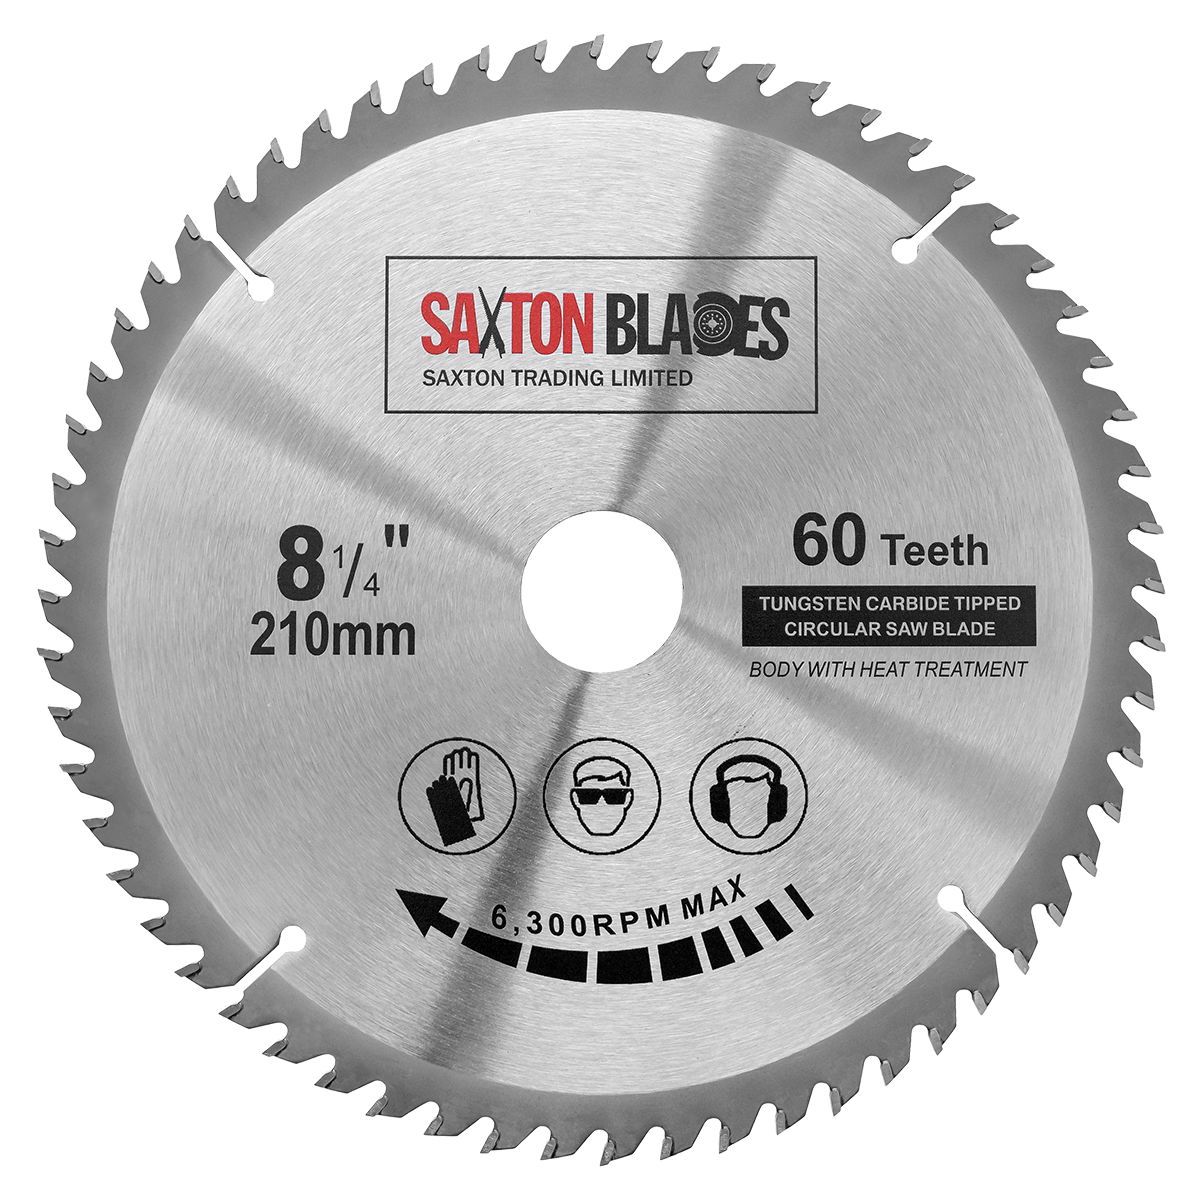
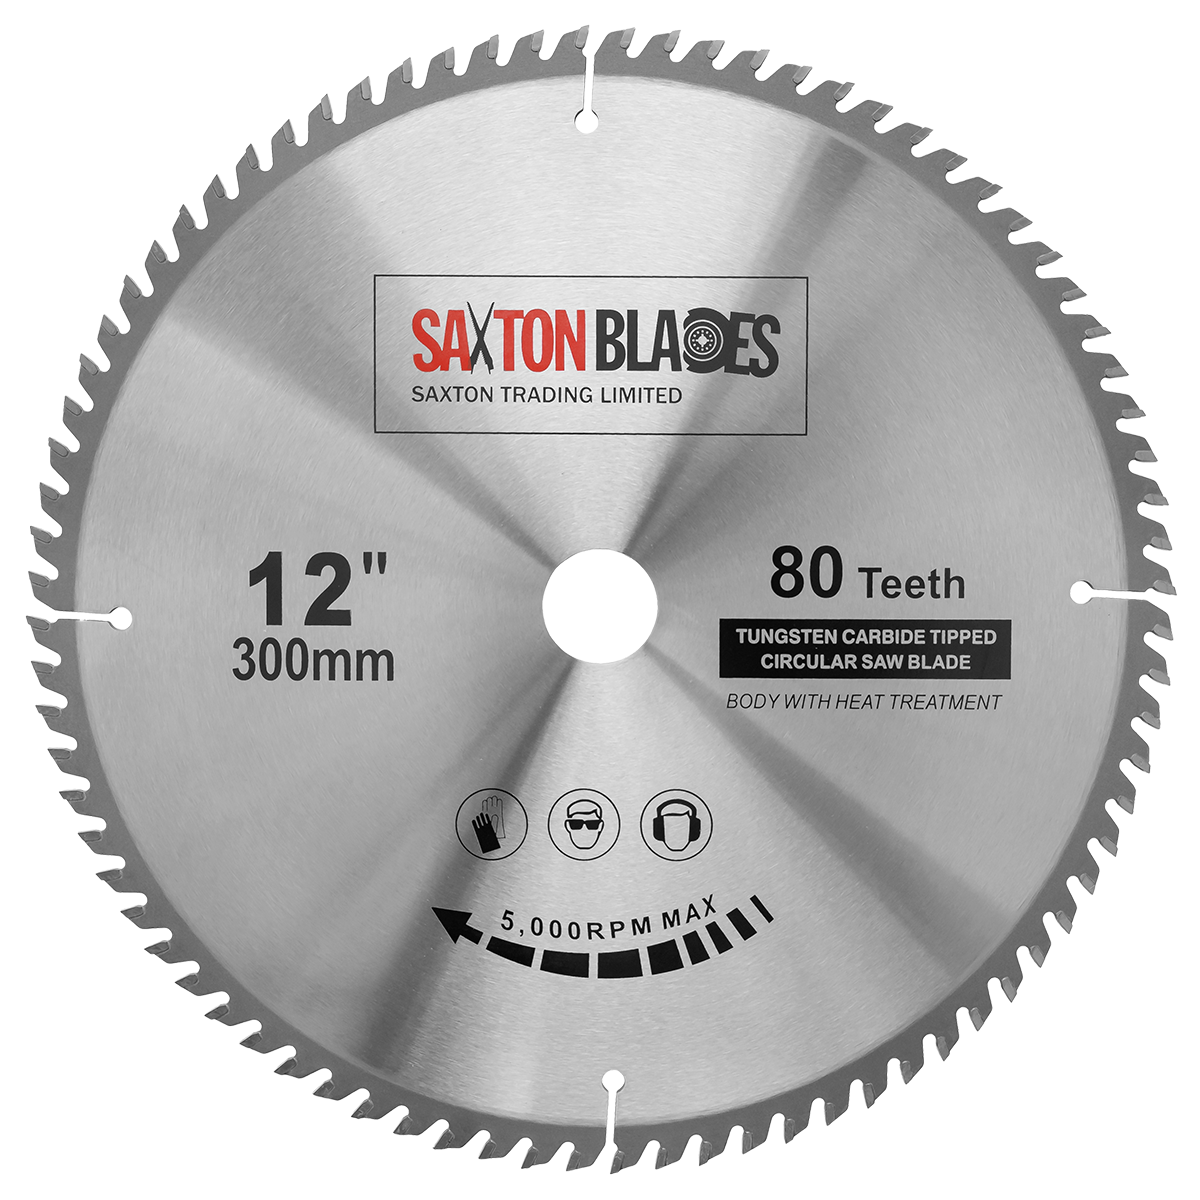
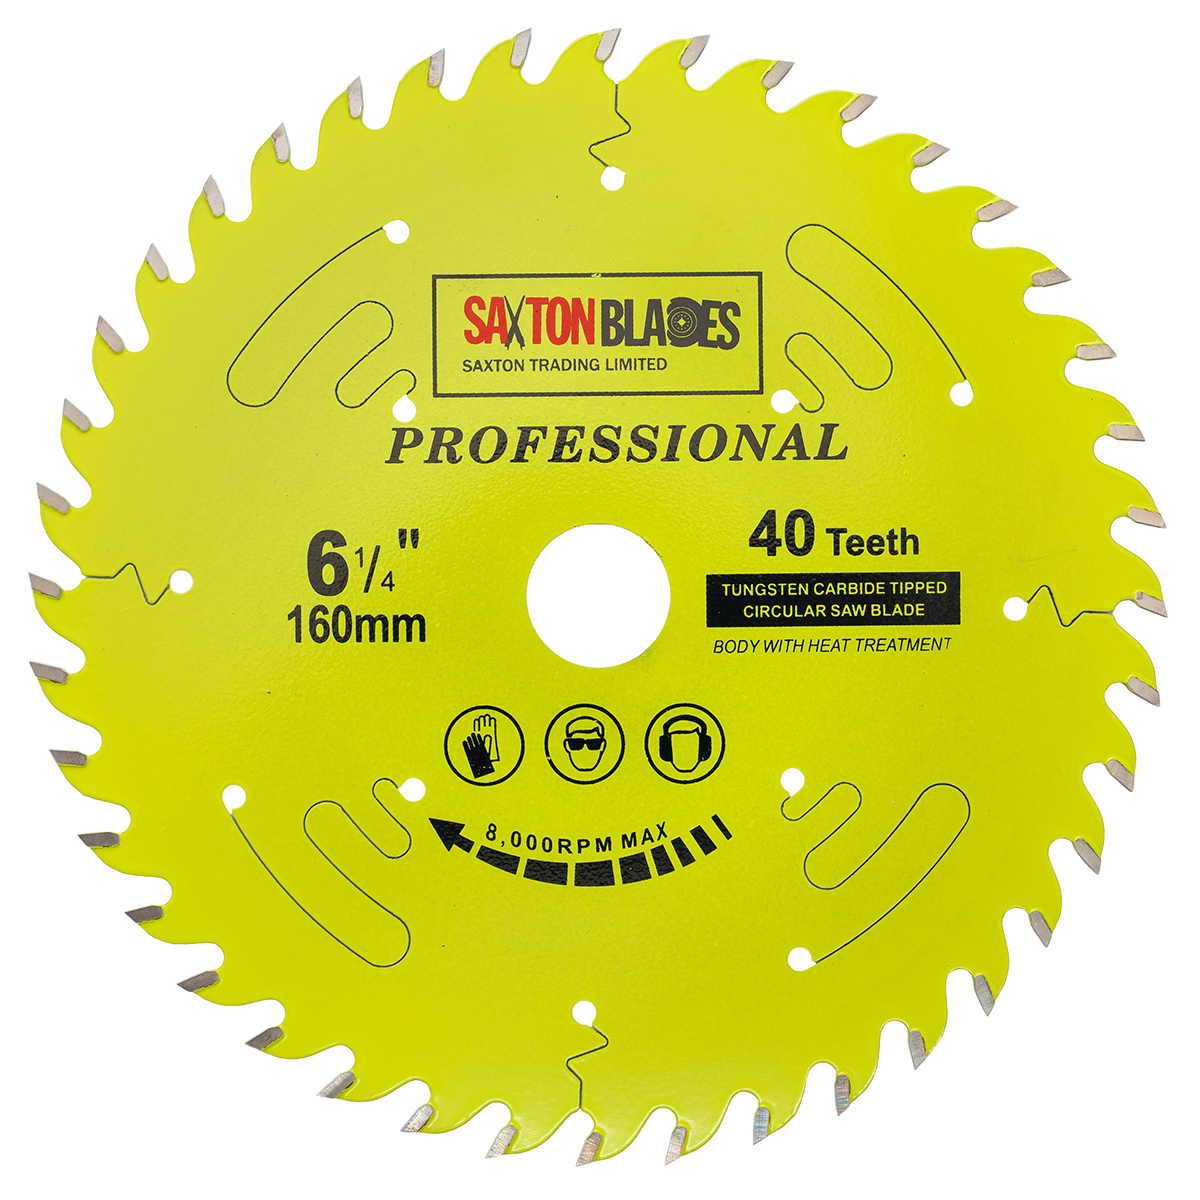
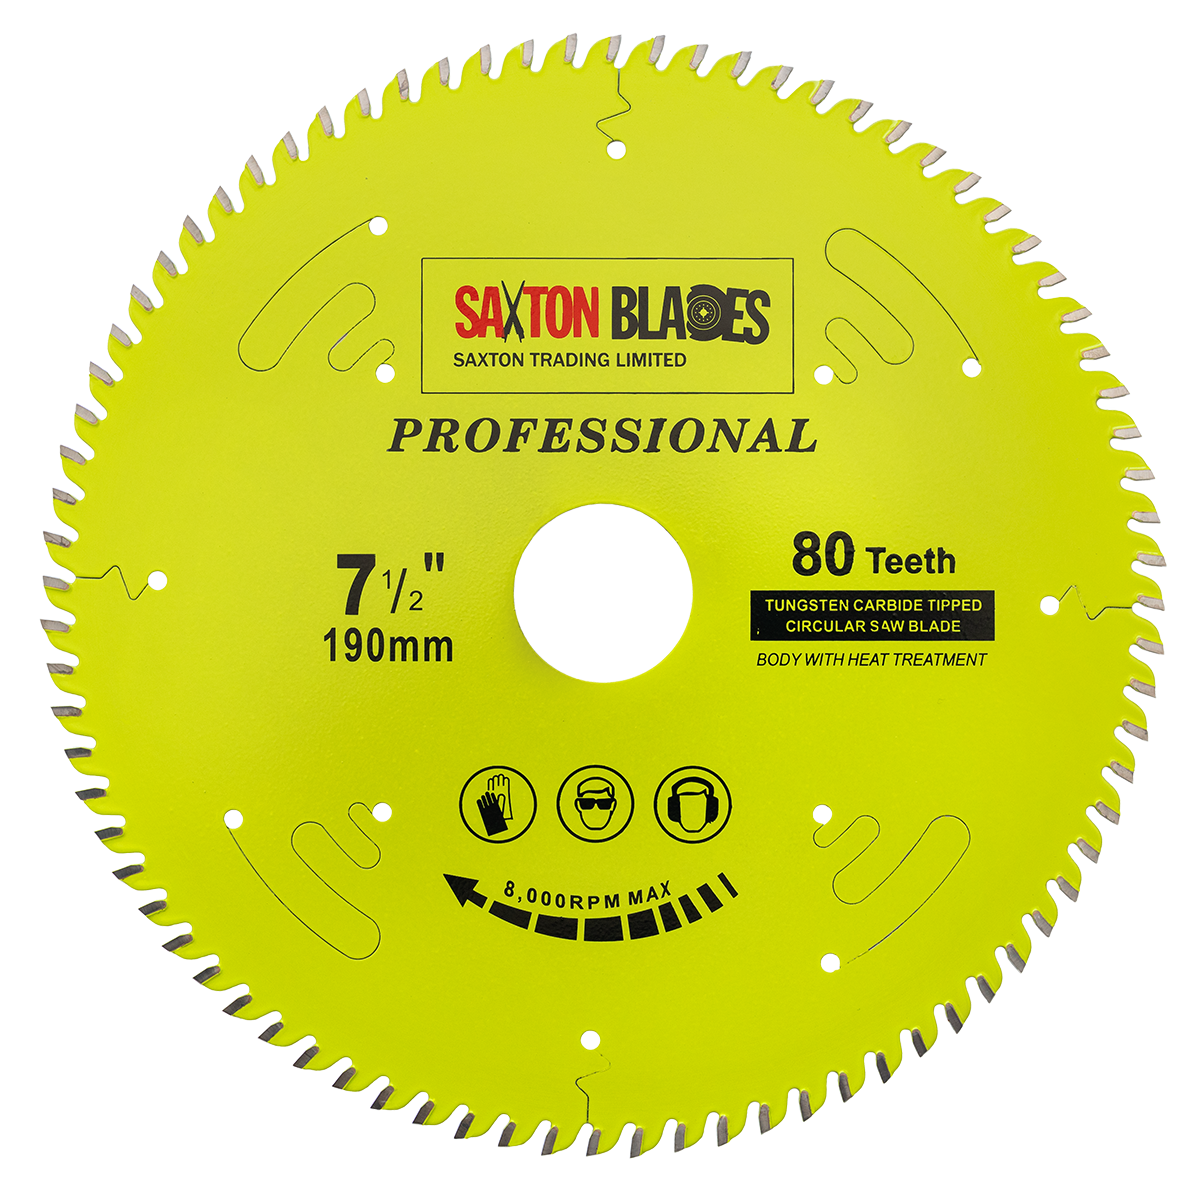
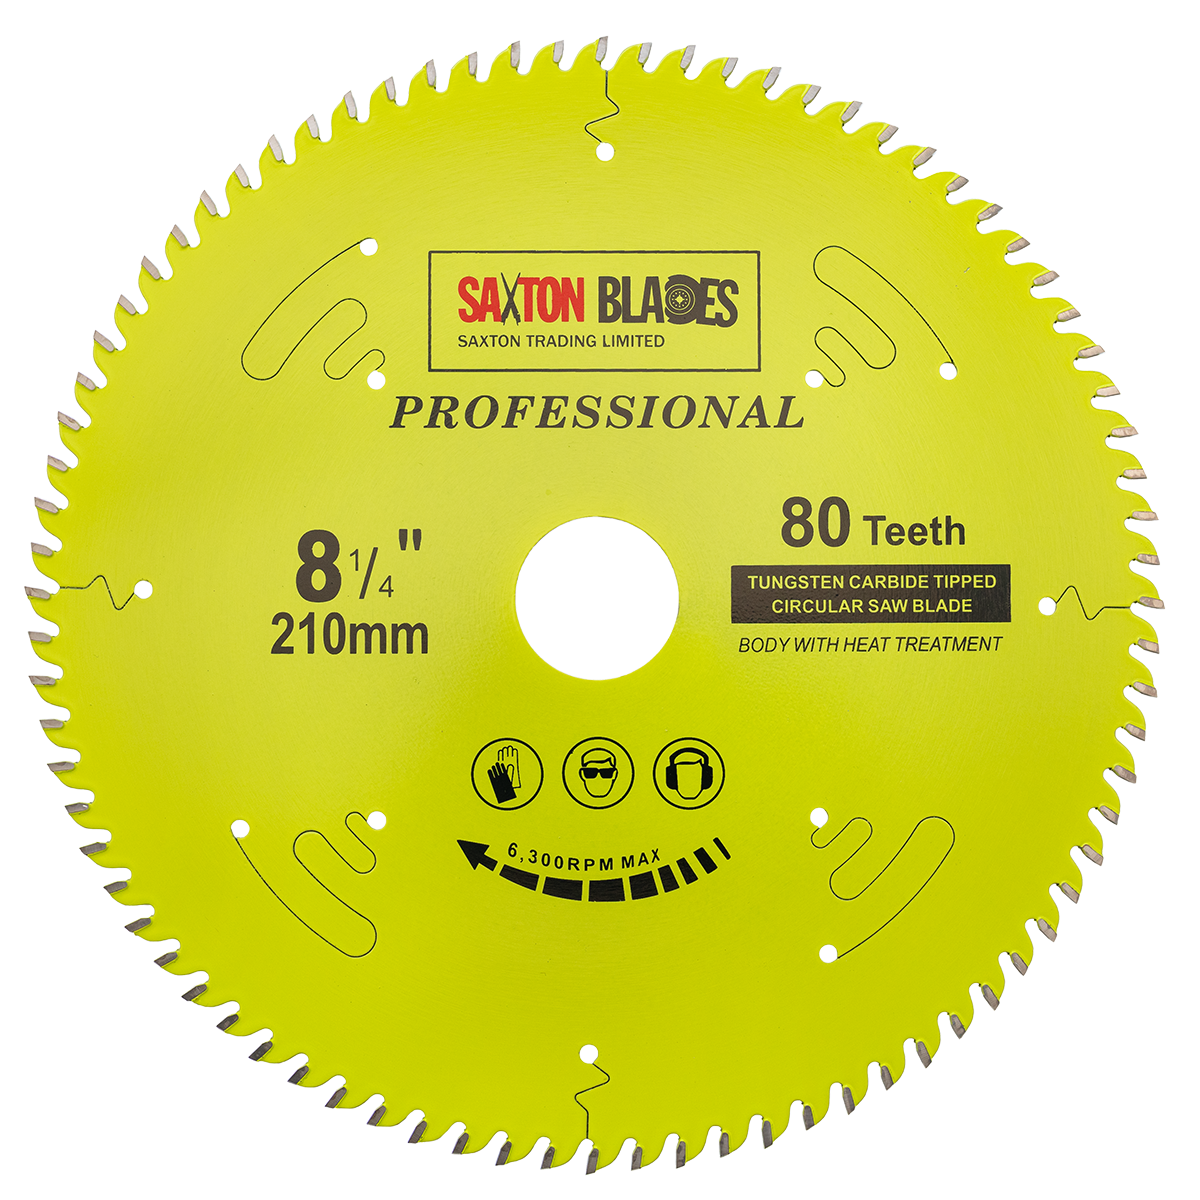
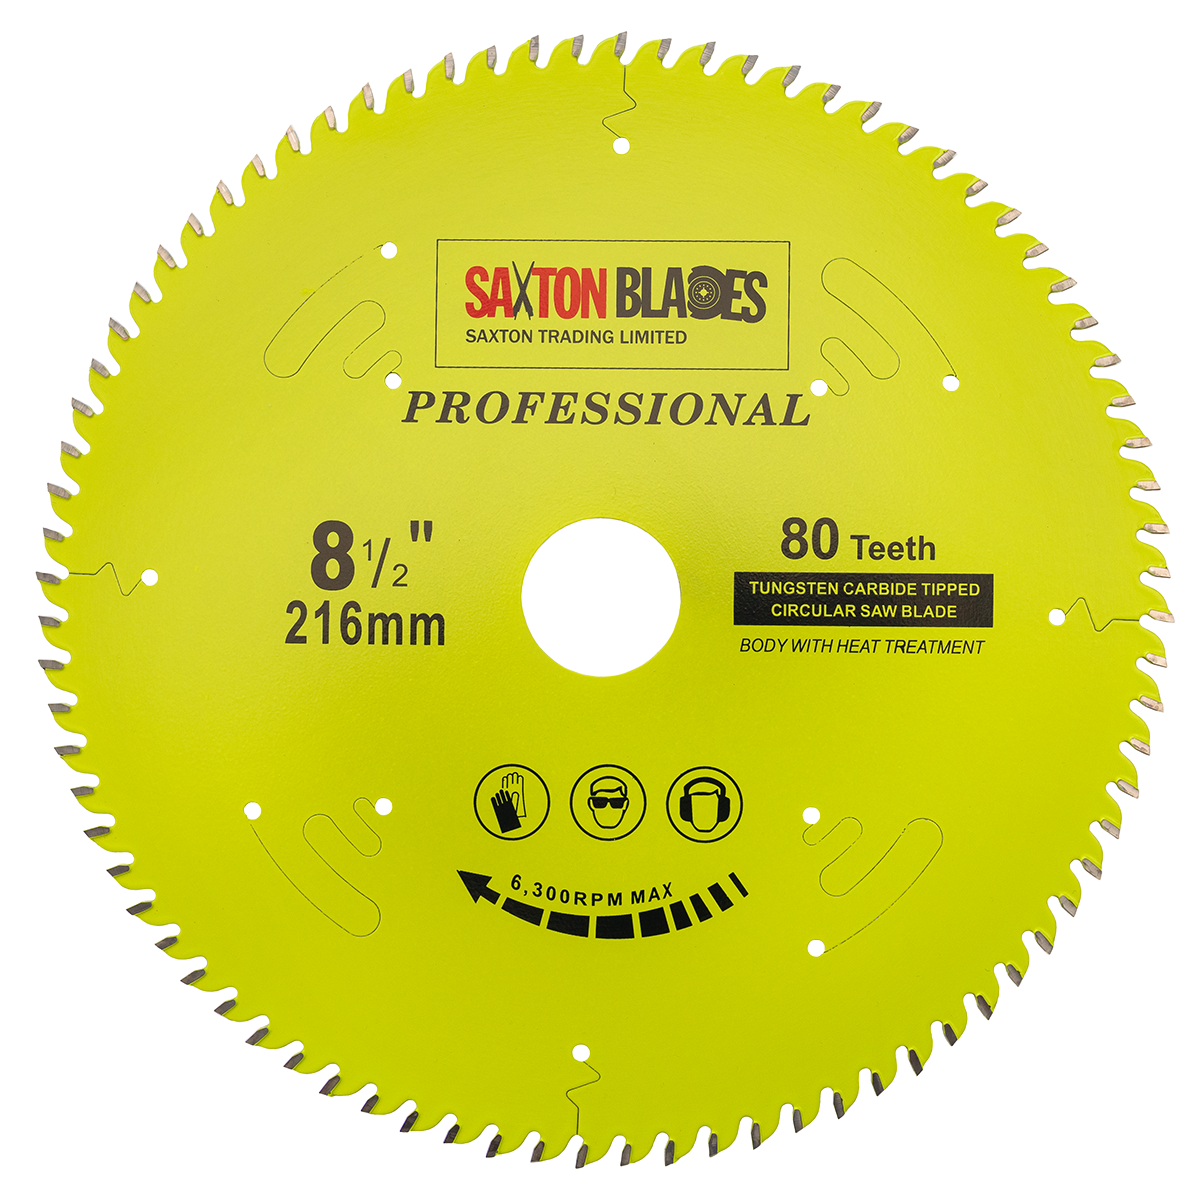
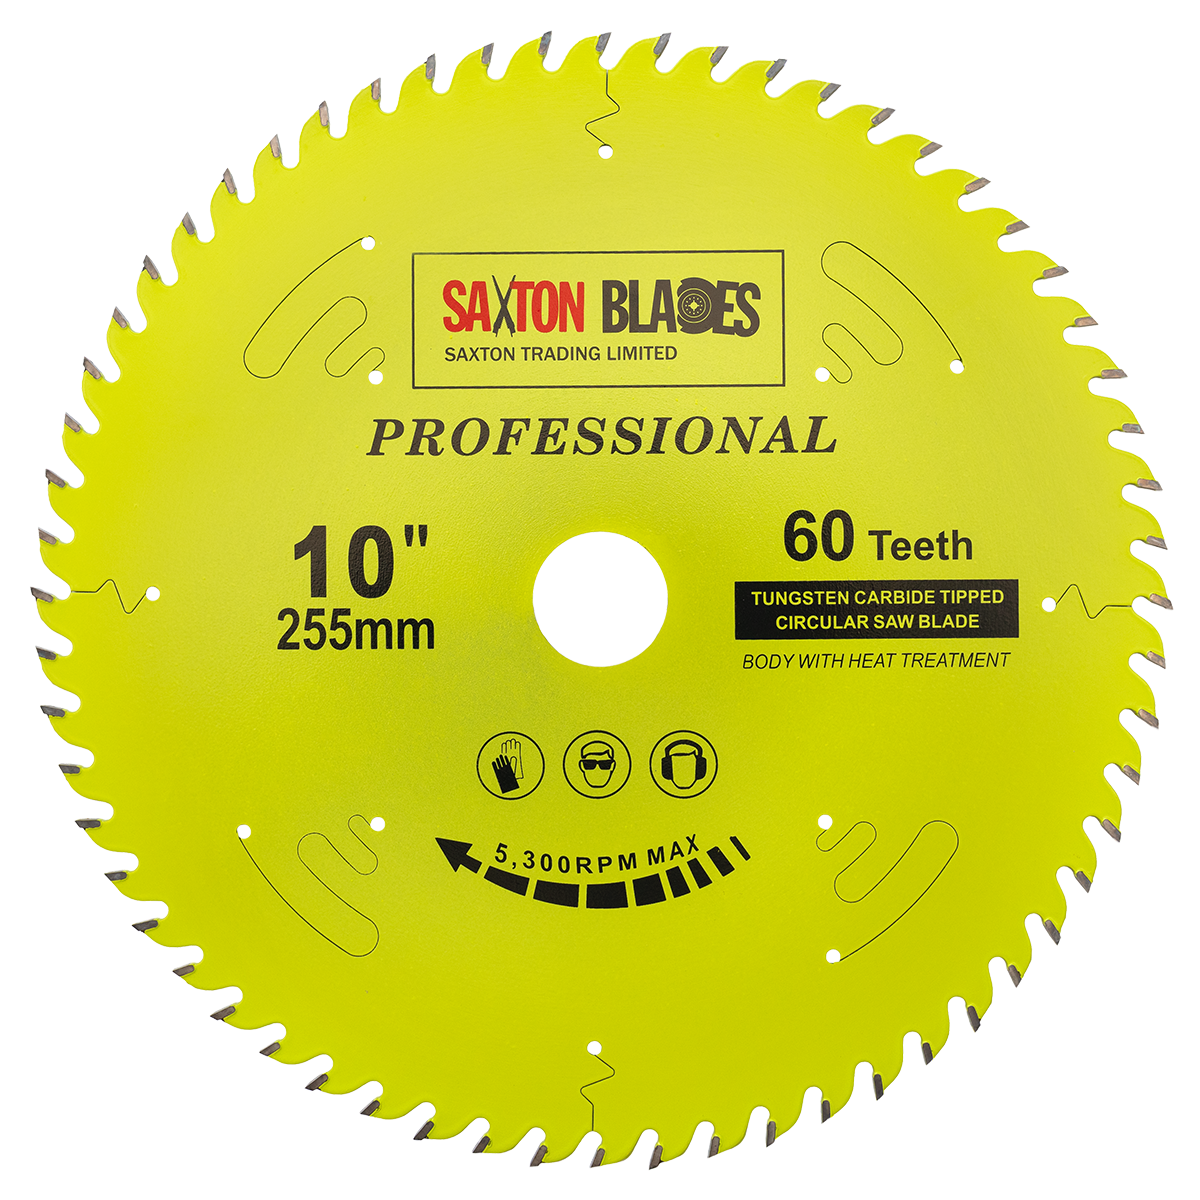
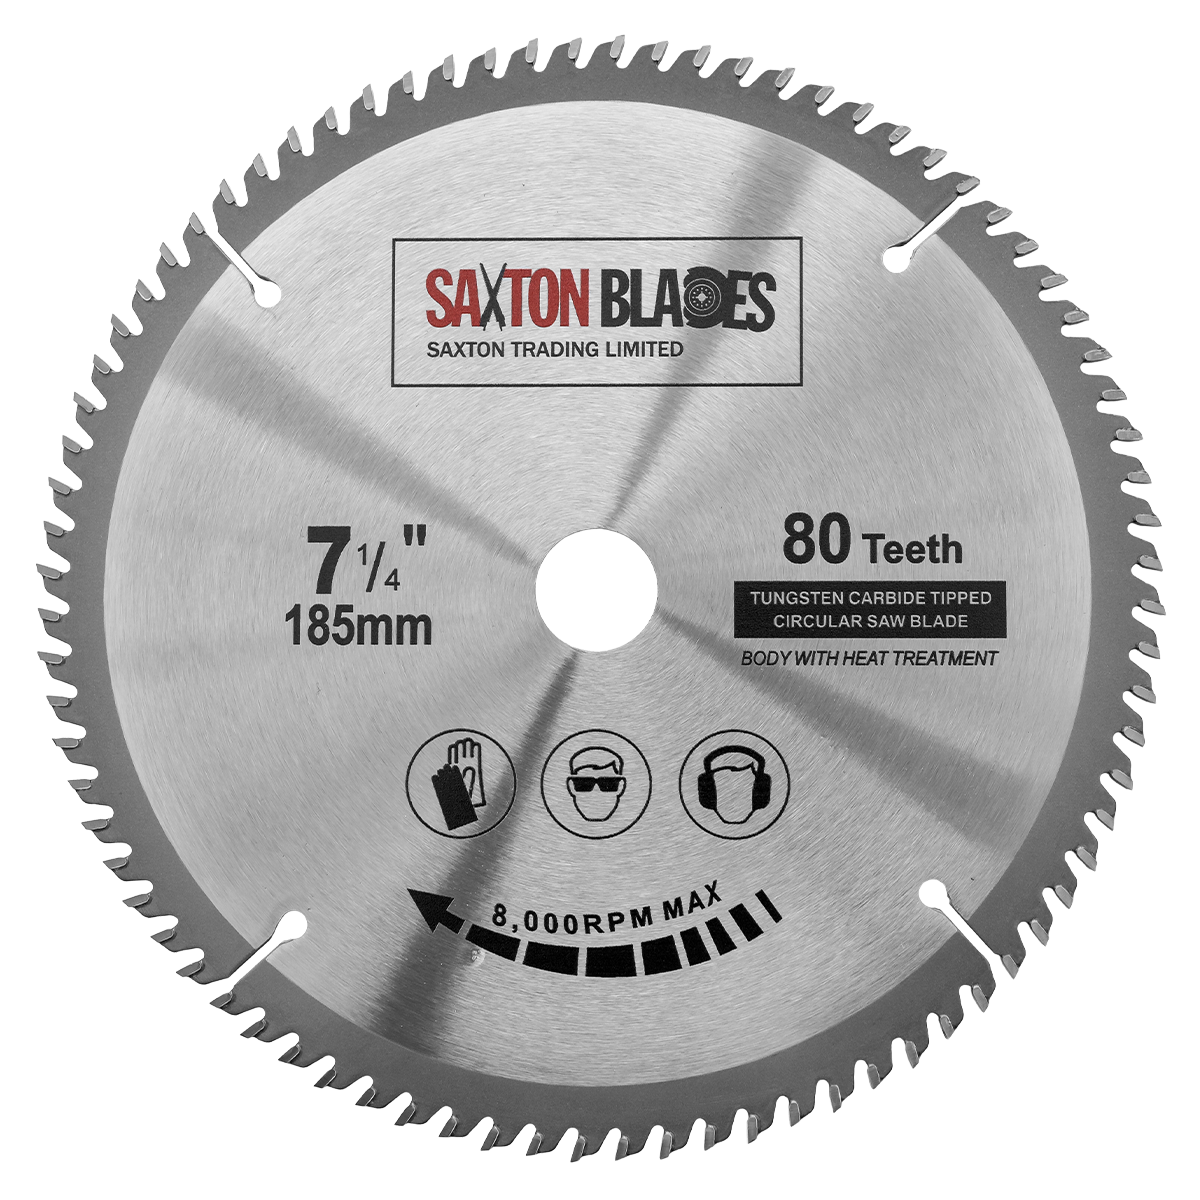
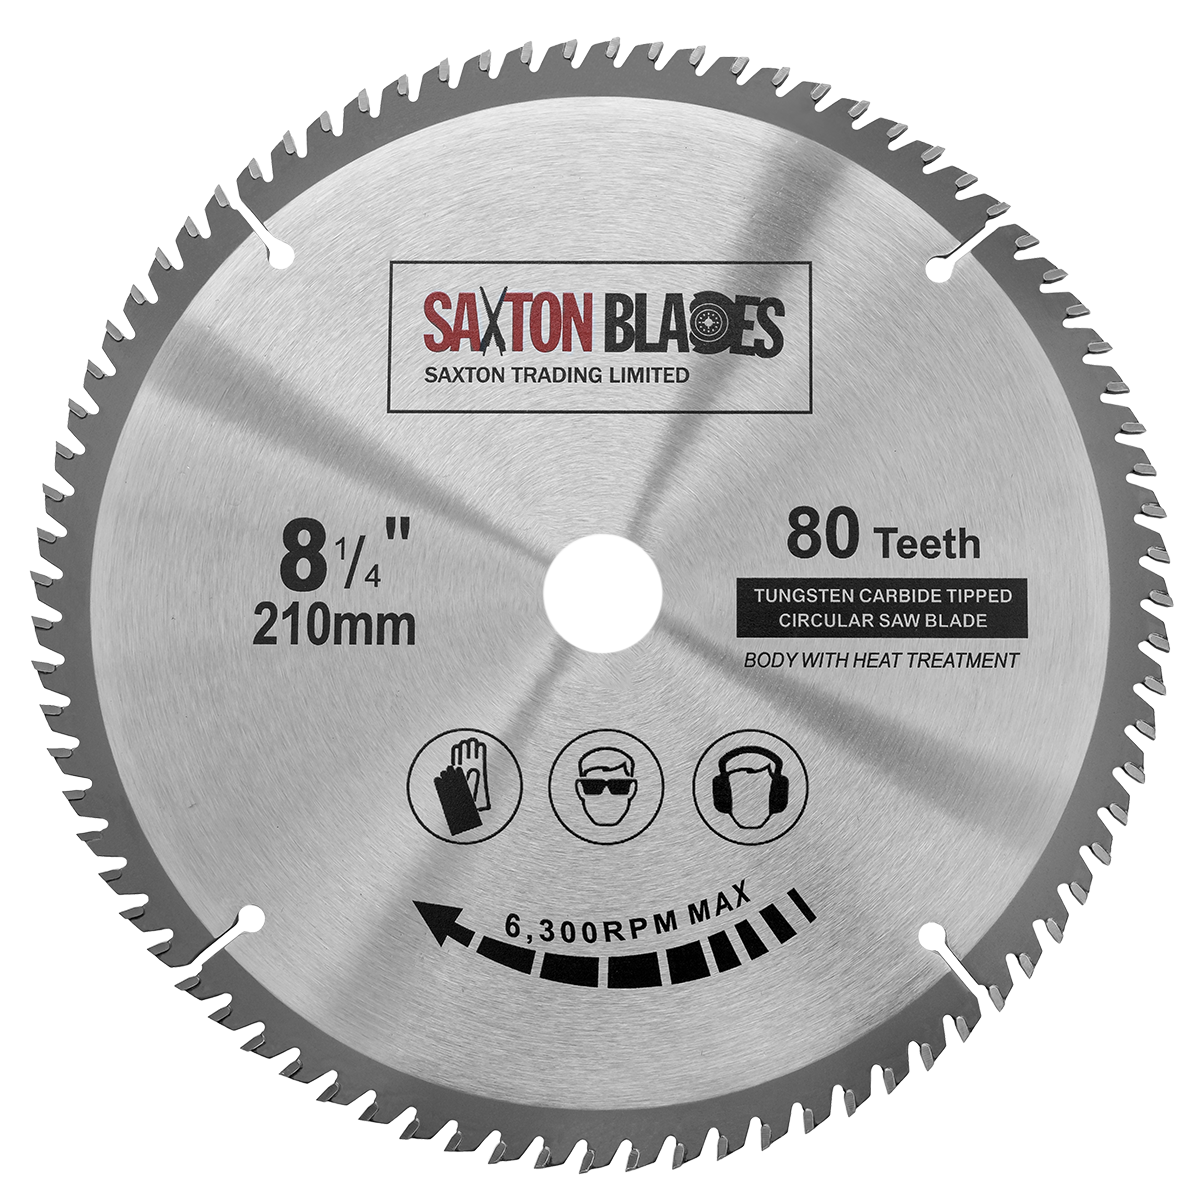
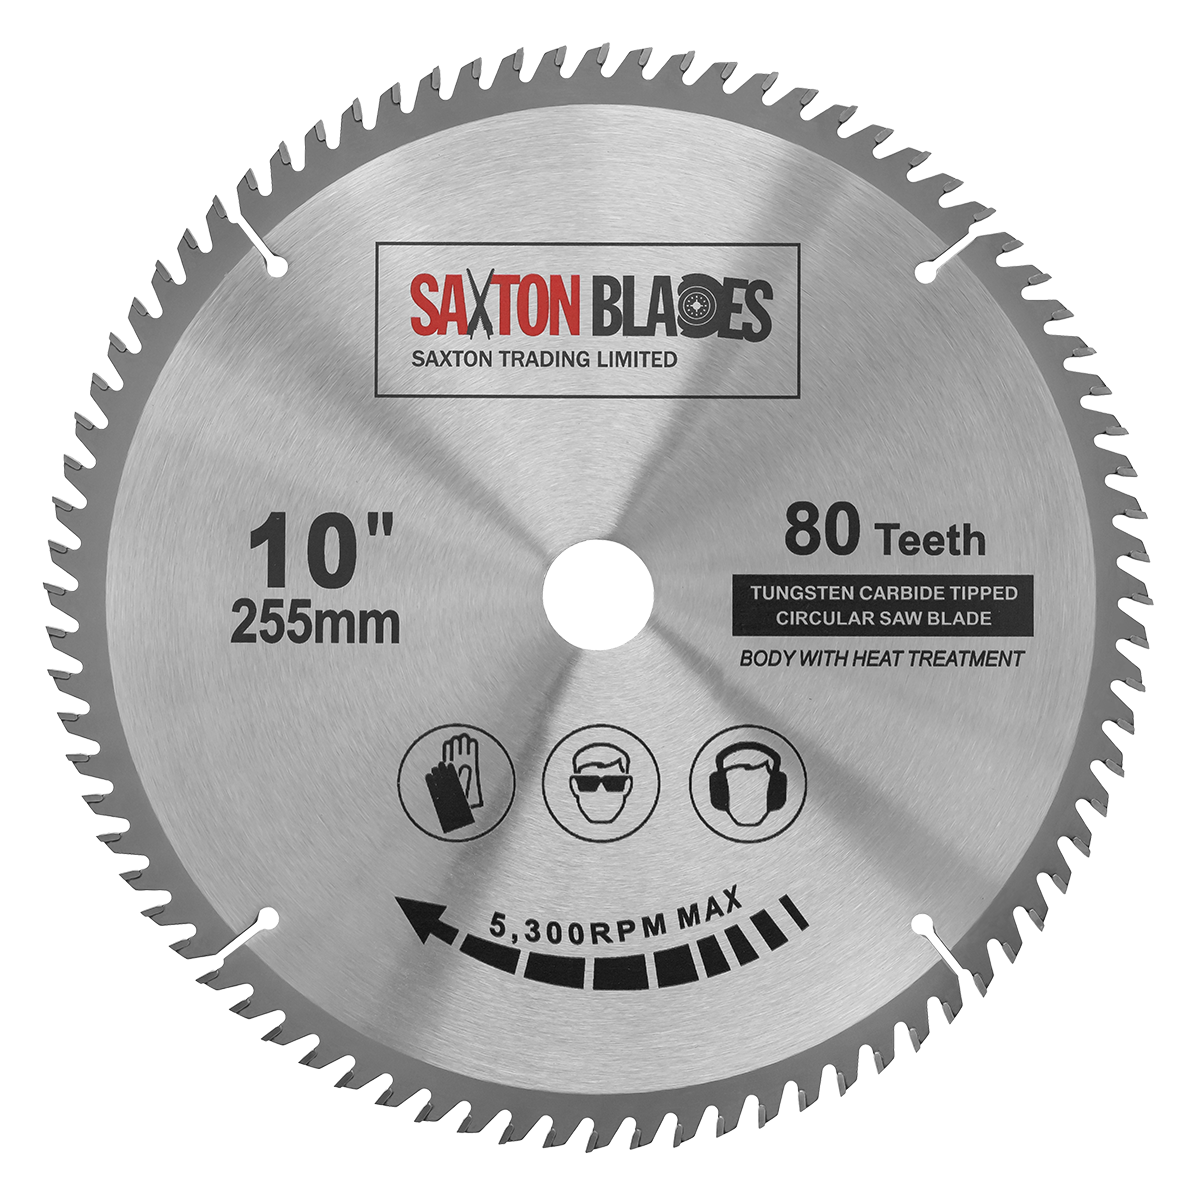
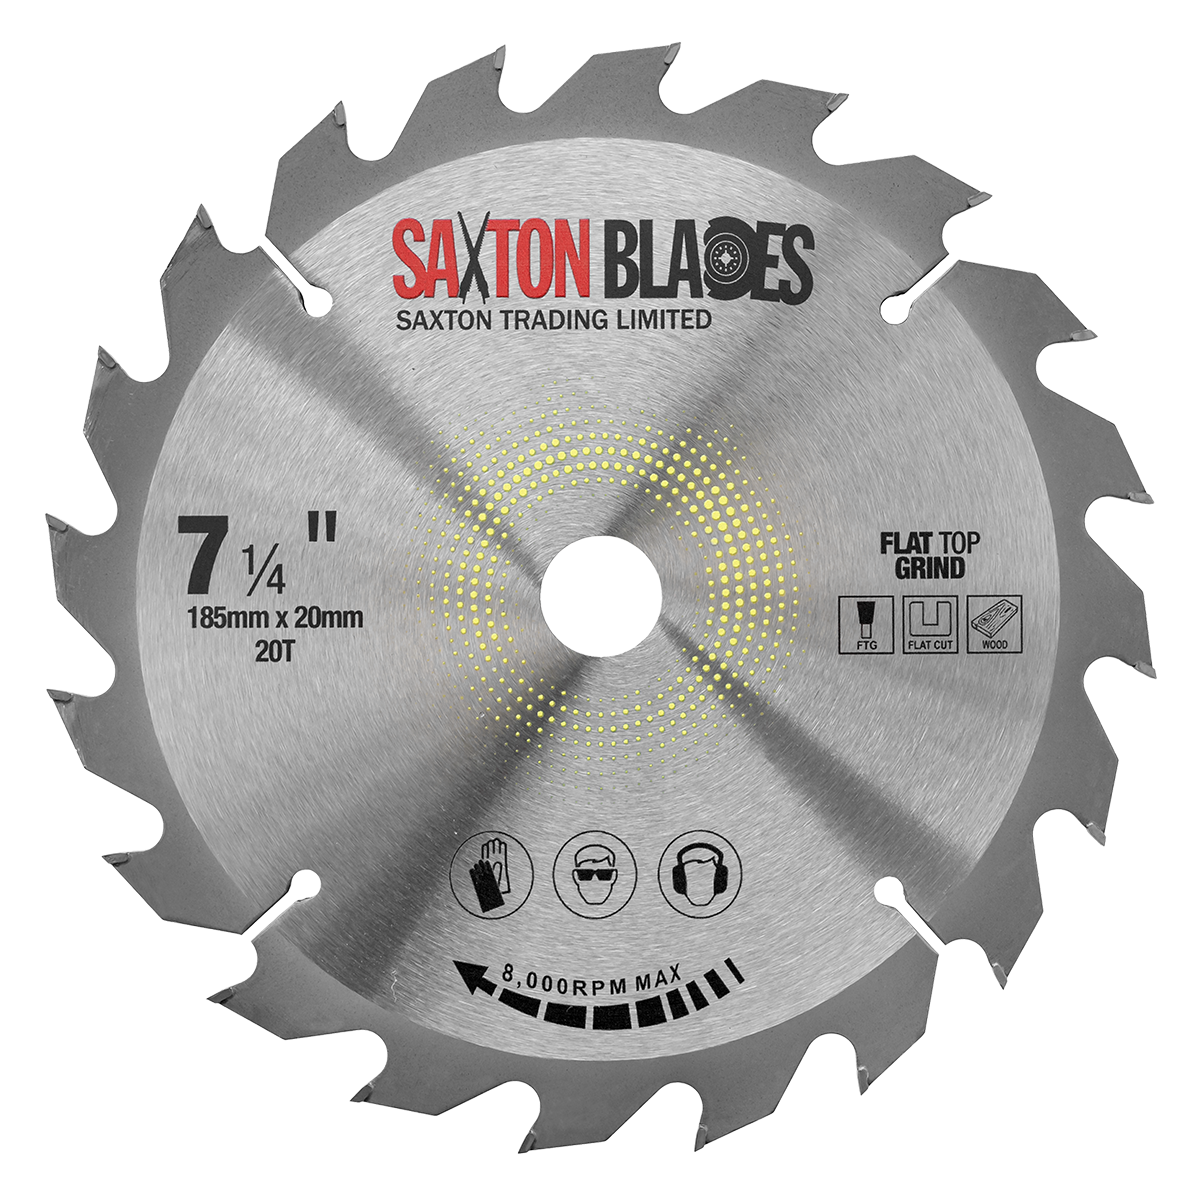
For this project, you’ll need a drill, drill driver or impact driver, a circular saw, a miter saw, a spirit level, a speed square, a stud finder, and a tape measure.
Step 3: Cut and assemble your shelf brackets
To make a shelf bracket, cut three different lengths of 2x4s using your miter saw: a 12-inch piece, a 10-inch piece, and an 8 1/2-inch piece. At the end of the 8 1/2-inch piece, mark the 45-degree angle on either side using a speed square to ensure accuracy and cut – this is the connecting piece.
Shelf brackets consist of an L-shape using the two longer pieces, and the final piece cut at a 45-degree angle connects the two. Simply, use your preferred drill to put two screws into each side to sturdily assemble the bracket.
Two brackets per shelf are the standard but if you feel you need extra support, create an additional one.
Step 4: Find the wall studs
Wall studs are vertical wooden beams that form the framework for a building’s walls.
Use a stud finder to locate the studs and mark the ones you plan on later drilling into to assemble your shelves.
Step 5: Level and secure the brackets
It’s important to carefully plan the placement of your shelves before drilling – use a pencil or masking tape to mark the location of each bracket and use a level to ensure you have a straight line.
Pre-drill the holes into the studs you located using standard wood screws and then remove them – be sure to check if the holes are still levelled.
Then, simply place the screws into the brackets and secure them into place until each bracket is safely attached to the wall.
Step 6: Screw shelves into place
Lastly, all you have to do is place the shelf onto the brackets and screw it into place to ensure it doesn’t move around. Repeat the process of pre-drilling through the underside of the shelf and then insert wood screws through the shelf connecting it to the bracket.
Should You Build Shelves From Scratch Or Buy Pre-Built Shelving Units?
Choosing between DIY shelves and pre-built units can be tricky, so we’ve compiled a list of pros and cons to help you decide which option best suits you:
Build shelves from scratch
Pros:
The prime benefit of building your own shelves from scratch is that they are completely customisable; you can design and create the perfect shelves tailored to your exact needs.
Purchasing your own materials for a DIY project is generally the more affordable option, and you might even already own the necessary materials and equipment, which is a bonus.
DIY shelves won’t need to be replaced as often as pre-built units. Granted you purchase high-quality and sturdy materials, you can ensure your shelves are durable.
If you’re a beginner, don’t fret. There is an abundance of helpful instructions and accessible guides online that have simplified the process for you so that all you have to do is follow along.
Cons:
Whilst DIY shelves are generally more affordable, there are always potential additional costs, as you may need to purchase extra materials or even required tools you didn’t already own.
Building your own shelves from scratch can be a difficult and daunting project, particularly if you’re not already familiar with the equipment and construction.
DIY is also a time-consuming endeavour – you need to consider the time it would take to take measurements, purchase materials, assemble parts, and build.
Pre-built units
Pros:
Pre-built shelving units are, of course, the easier and more accessible option. They don’t require you to have any knowledge of construction, and you can quickly and easily hang them up immediately after purchasing.
Most pre-built shelves are modular, which means they are designed to be versatile, allowing you to assemble them in a variety of ways, add extra storage space, and adjust them to fit your needs.
Cons:
Purchasing a shelving unit is ultimately the more expensive option.
With pre-built units, you lose the ability to completely personalise them and create a unique unit that fits your exact measurements and needs. Before purchasing, you’ll need to take note of measurements to ensure you select a shelving unit that will fit in your space and work for you.
Pre-built shelves also do not automatically mean quality. Depending on where you purchase your shelves and how they’re made, they may not be very durable, and you’ll likely need to replace them after a while.
Other Affordable Shelving Solutions
Stack storage boxes
If you’re looking for an alternative affordable solution that will help maximise your space, stacking storage boxes is ideal.
As they can be stacked, you can purchase boxes as you continue to accumulate items and sort your equipment and items further by assigning different boxes a category or utilise different coloured boxes.
Create a tool pegboard
A pegboard is a staple in most garages – they’re perfect to display and hang a wide range of equipment, including tools, foldable step stools, paintbrushes, and more for easy access.
You can take advantage of any free wall space and create your very own pegboard using metal, hardboard, or plastic. The great thing about pegboards is that they’re completely customisable and versatile; you can easily add shelves and design your own layout that best works for you and the tools you own.
Use overhead storage
Ceiling space is often forgotten when it comes to garage storage, but it is incredibly useful to help maximise your space. Overhead storage is ideal for lightweight equipment and items you don’t use as often.
For example, a slide-in storage system using plywood to create ‘carriages’ that are attached to ceiling joists and can be used to slide plastic totes, an overhead metal rack, or a DIY wooden shelf frame installed directly into the ceiling.
Repurpose wooden crates
Storage doesn’t have to be expensive! If you have any wooden crates lying around – wine crates, for example – you can repurpose them for storage purposes and use them as shelves or drawers.
Install freestanding garage racking
Freestanding garage racks can be easily assembled, they’re incredibly versatile and ideal for heavy objects – you can display items on the shelves or use storage bins to organise all of your items and equipment.
Racks also save space and allow you to easily access whatever you need without any hassle.
Use hooks as shelf brackets
If you’re looking for a versatile and multi-use shelf, using hooks as shelf brackets is the ideal solution. With hook brackets, you can store things directly on a shelf whilst also hanging items for quick and easy access.
FAQs
What are the best storage solutions for garages with minimal space?
If you have a small garage, it’s crucial to optimise your space to ensure it’s completely functional and productive.
Be sure to take advantage of the ceiling and walls as you can easily store items without taking up much space – installing wall organisers, freestanding shelves, and overhead storage systems are ideal.
Stackable storage boxes are perfect and designed for small spaces, and they allow you to store items away, making your garage look cleaner and neater.
A pegboard is the ultimate storage solution for garages with minimal space – they’re versatile, easy to build, and can store a wide variety of tools and items.
You can also DIY your own storage solutions to fit your exact measurements and space, so you don’t have to worry about purchasing a shelf that doesn’t quite fit.
Is it cheaper to buy or build garage shelves?
It’s generally cheaper to purchase your own materials and build shelves from scratch compared to purchasing a pre-built unit.
How deep should garage shelves be?
This depends on what items you’re storing, but they need to be deep enough to fit your equipment and heavy tool boxes safely and neatly but not too deep that items will be pushed to the back and forgotten.
Shelves are typically between 14-24 inches deep depending on how big the items are.
If you struggle to access items on shelves, particularly the top shelf, consider making them shallower.
Is building garage shelves a suitable project for a beginner?
Absolutely, building shelves for your garage is the perfect DIY project for a beginner. It’s simple enough to follow thanks to guides and instructions online, and the basic materials can be easily found in any hardware store.

