In our last how-to article, we walked you through a step-by-step guide to fitting an internal door; now, it’s time to learn how to fit the handles to your door! Saxton Blades company owner, Glenn Peskett, is here to take you through the process in a clear and simple way.
Fitting a interior door handle is a relatively simple DIY project which shouldn’t take you too long. Start by gathering the tools and materials that you’ll need so that you’ve got everything close to hand before you begin the job.
In this article, we’ll show you how to fit the door latch, latch plates, and door handles onto your new door and door frame with ease.
So, without further ado, let’s get started!
WHAT YOU’LL NEED
- Chisel
- Screws
- Screwdriver
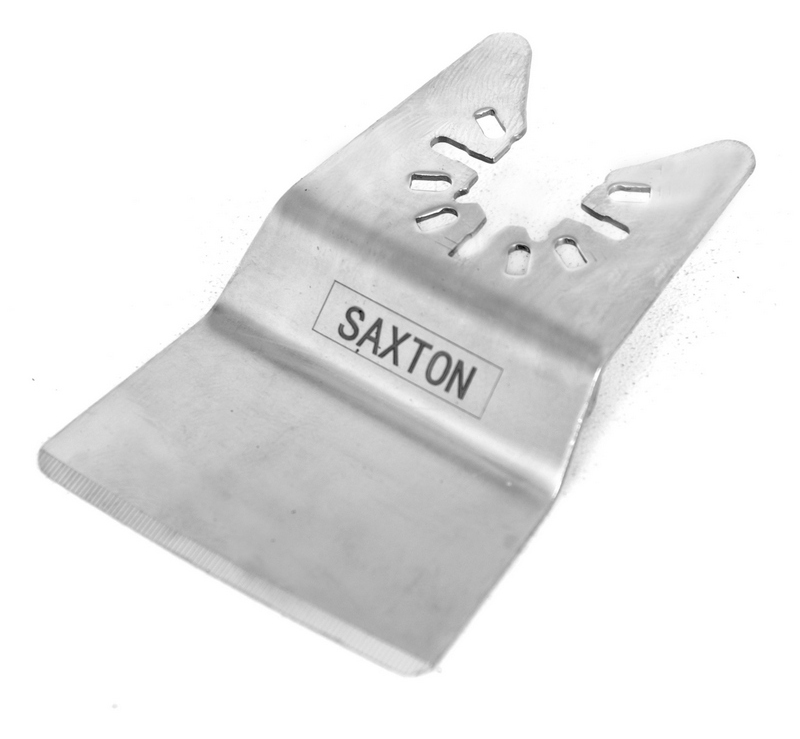
- Rotary tool
- Drill and bit
- Safety goggles
- Sharp pencil
- Dustpan/vacuum cleaner
- Door Knobs
STEP 1. DRILL A HOLE FOR THE LATCH
- First of all, you’ll need to fit the latch, the bottom of which is usually set about 1m up from the bottom of the door, in the middle of the side of the door; measure up and mark the position on the edge of the door.
- Position the latch in the centre of the edge of the door at the right height and hold it in place while you use a pencil to draw around it to mark its position.
- Choose a drill bit suitable for flat wood cutting, and make sure it’s slightly bigger than your latch; this will ensure there’s enough room to fit the latch into the drilled hole.
- In order to measure the depth that the latch hole needs to be, hold the latch against the drill bit and use masking tape to mark the depth onto the bit.
- Wedge the door into an open position and keep it stable while you drill the hole into the side of the door to the required depth, then use a chisel to remove any debris.

STEP 2. FIX THE DOOR LATCH
- Into the hole that you’ve just drilled, insert the door latch and make sure it is level, then mark around its position.
- Using a chisel, make a series of small cuts along the edges of your pencil outline, then remove the rest of the recess carefully with the chisel.
- Next, check the fit of the latch to ensure the plate lies flush with the door.

STEP 3. MAKE A HOLE FOR THE SPINDLE
- Place the latch on the outside of the door and hold it in position, then place your pencil through the hole in the latch and make a mark on both sides of the door; this is where the handle spindle will go.
- Select a drill bit that is 2mm wider than the spindle; start drilling, and when the drill bit is just beginning to emerge through the other side of the door, drill from the other side to prevent the wood from splitting.
- Once the drilling is complete, carefully remove any debris from the hole.
- Next, slide the latch back into the door, place the spindle into the hole you’ve just drilled, and screw the latch into place.

STEP 4. ATTACH THE DOOR HANDLE
- Take the handle and place it onto the spindle; hold it in place with one hand, and use your other hand to drill in the screws for the back plate.
- Test the handle to make sure it moves ok, then repeat the process on the other side of the door to fit the other handle.

STEP 5. FIX THE LATCH PLATE TO THE DOOR FRAME
- The piece of metal that slots into the door frame is called the latch plate (or face plate).
- First of all close the door so that the latch touches the frame, and then use a pencil to mark its position on the door frame; this will give you the height of the latch plate.
- Next, find the horizontal position of the latch plate by measuring the distance between the edge of the door and the edge of the latch. Mark this measurement on the door frame in pencil at the right height, and draw in and around the latch plate.
- Following the marks that you’ve made, chisel the door to create the recess for the latch plate so that it sits flush with the door frame, then screw the latch plate onto the frame.
Finish the job off by vacuuming or sweeping the dust and debris away, and you’re left with a lovely new handle on your new door!
Are there any how-to guides you’d like to see us feature over the coming weeks and months? Let us know on our Twitter page!

